# A Step-by-Step Guide to Going Solar: How to Power Your Home with Renewable Energy
Living small and self-sufficient often brings a sense of freedom that can’t be captured by simply paying utility bills month after month. Last summer, we made the big leap and installed solar panels on our roof—a decision that transformed both my wallet and my lifestyle! With the golden sun pouring down, we emerged from the cycle of costly electricity and embraced a greener future. In this guide, I’ll break down everything you need to know about going solar. From understanding solar energy to tackling the installation process, you’ll be well on your way to harnessing the sun’s power for your home.
## Understanding Solar Energy
Before diving into the nitty-gritty, let’s demystify solar energy. Solar panels convert sunlight into electricity, which can be used to power various appliances and systems in your home. There are typically two types of solar systems:
1. **Grid-Tied Systems**: These systems remain connected to the grid, allowing you to draw electricity when your solar output is low and feed excess energy back to the grid.
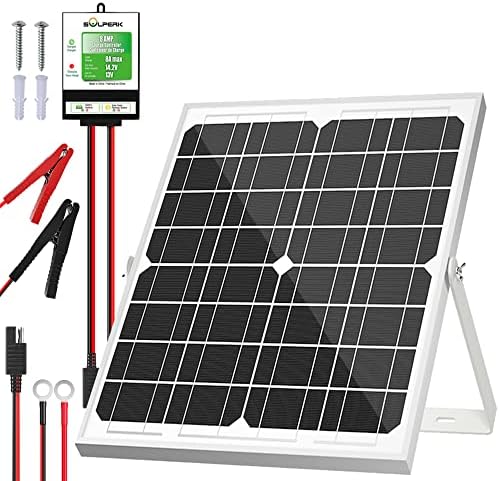
2. **Off-Grid Systems**: Fully independent, these systems store energy in batteries for when the sun isn’t shining. Perfect for a truly self-sufficient lifestyle!
### The Benefits of Going Solar
Not convinced yet? Here are compelling reasons to switch to solar energy:
– **Cost Savings**: Reduce or even eliminate your electric bills.
– **Environmental Impact**: Decrease your carbon footprint by utilizing clean, renewable energy.
– **Energy Independence**: Protect yourself from rising energy prices and regulatory changes.
– **Increased Property Value**: Homes with solar installations often sell for more money.
## Step 1: Assess Your Energy Needs
Start by evaluating how much energy your household consumes. Look at your utility bills from the past year to determine your average monthly kilowatt-hour (kWh) usage. This number is crucial for sizing your solar system, as it will guide how many panels you’ll need.
### Pro Tip:
Keep energy efficiency in mind. Before installing solar panels, consider implementing energy-saving measures like LED bulbs, smart thermostats, and high-efficiency appliances. These steps could allow you to downsize your future solar system!
## Step 2: Explore Solar Options
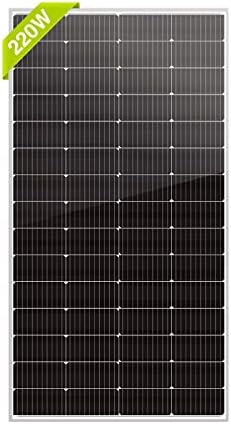
Now that you know your energy needs, it’s time to explore your options! Research different types of solar panels and inverters available on the market. Most panels can be categorized into three types:
1. **Monocrystalline**: Highly efficient and space-saving, but typically more expensive.
2. **Polycrystalline**: A budget-friendly choice with slightly lower efficiency.
3. **Thin-Film**: Lightweight and flexible, but usually the least efficient of the three.
### Choosing an Inverter
Inverters are the brain of your solar system, converting PV (photovoltaic) energy into usable electricity. Options include:
– **String Inverters**: Cost-effective, ideal for most residential setups.
– **Microinverters**: Excellent for roofs with obstructions or varying sun exposure.
– **Power Optimizers**: A hybrid of string and microinverters that can help maximize the output of each panel.
## Step 3: Find a Reputable Installer
Once you’ve settled on the type of solar system you want, it’s time to find a reputable installer. This is a critical step in your journey. Ask for recommendations, read reviews, and get multiple quotes.
### Questions to Ask:
1. Are they licensed and insured?
2. Do they have experience with your specific equipment?
3. What are their warranties and maintenance services?
## Step 4: Understanding Permits and Regulations
Installing solar panels usually requires permits and adherence to local regulations. Expect to fill out paperwork for building permits, electrical permits, and possibly even a solar permit.
### Pro Tip:
Consult your local government or solar associations to guide you through the requirements. Many installers will also handle this process for you, but knowing what to expect can save you time.
## Step 5: Installation Day!
When installation day arrives, expect some hustle and bustle. Your installers will:
1. Set up scaffolding for safety.
2. Mount brackets and install solar panels on your roof.
3. Install the inverter and connect it to your home’s electrical system.
Most residential installations can be completed in one day, but this can vary depending on the system’s complexity.
### Pro Tip:
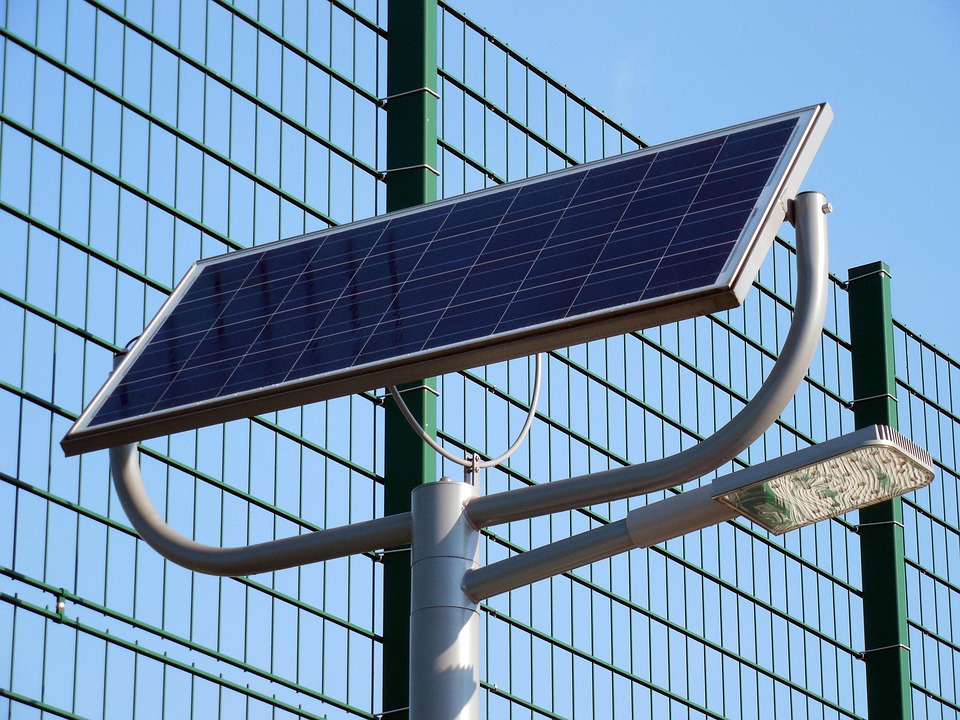
Keep communication lines open with your installer. They can guide you on optimizing your setup, including the ideal angle and orientation for maximizing sunlight exposure.
## Step 6: Set Up Monitoring and Maintenance
Once your panels are installed, it’s essential to set up a monitoring system to track your energy production. This will help you identify any performance issues early and ensure your system is running efficiently.
### Maintenance Tips:
– **Regular Cleaning**: Dust, debris, and leaves can obstruct sunlight. A simple rinse with a hose can keep your panels functioning optimally.
– **Annual Inspections**: Schedule periodic check-ups with your installer to ensure everything is in working order.
## Step 7: Explore Incentives and Financing Options
Going solar doesn’t have to break the bank. Explore federal, state, and local incentives like the Solar Investment Tax Credit (ITC), which allows you to deduct a percentage of your solar installation costs from your federal taxes.
### Financing Options:
– **Cash Purchase**: Pay upfront to save the most in the long run.
– **Loans**: Many financial institutions offer loans specifically for solar systems.
– **Leases and Power Purchase Agreements (PPAs)**: These allow you to use solar energy without purchasing the system outright, but you’ll likely miss out on some savings over time.
### Pro Tip:
Keep an eye on changing tax credits and incentives. They can make a huge difference in your total investment and savings!
## Step 8: Enjoy the Sunshine!
Congratulations! You’ve made it through the process of going solar. Now, sit back and enjoy the benefits of renewable energy—reduced electricity bills, increased home value, and—best of all—peace of mind knowing you’re contributing to a cleaner planet.
### Further Onward: Expanding Your Solar Experience
The future is bright! Going solar opens doors for additional green technologies, such as:
– **Solar Batteries**: Store excess energy for use at night or during outages.
– **Solar Hot Water Systems**: Use solar energy to heat your water, further reducing your utility costs.
– **Electric Vehicles (EV)**: Power your car with solar energy and reduce your carbon footprint even more!
## Final Thoughts
Transitioning to solar energy is not just about saving money; it’s about embracing a sustainable future. With the right planning and resources, going solar can be an enriching experience that liberates you from traditional energy dependency. Get ready to bask in both sunlight and savings, because taking this step will empower you and the planet for generations to come!
—
### Pro Tips Recap
1. **Assess Your Energy Needs**: Know your average kWh consumption.
2. **Consider Energy Efficiency First**: Implement energy-saving measures before your installation.
3. **Conduct Thorough Research**: Choose quality panels, inverters, and a reputable installer.
4. **Regular Maintenance**: Keep your panels clean and schedule annual inspections.
5. **Stay Informed on Incentives**: Make use of available financial incentives and financing options.
Whether you simply want to cut your energy costs, promote environmental sustainability, or gain energy independence, going solar is a rewarding investment that is well worth the effort. Embrace the sun, and let it do the work!