
# Solar Panel Installation: A Step-by-Step Guide for Homeowners
Nothing quite beats the sun’s radiant embrace on a crisp morning, reminding me of those blissful days spent harnessing its power. A few years back, I stood outside, the sun streaming down, as my quaint cabin transformed into a self-sustaining haven. With each solar panel dutifully installed atop my roof, I felt the weight of utility bills lift, replaced by the warm glow of energy independence. Today, I’m excited to share a fun and upbeat guide to solar panel installation that will empower you to embark on your own green journey!
## Why Go Solar?
Before diving into the installation process, let’s discuss why solar panels are so fantastic. Apart from the significant reduction in energy costs, solar energy is renewable and contributes significantly to reducing your carbon footprint. Imagine generating your electricity and contributing to a cleaner planet! Plus, many states offer tax incentives and rebates, making this investment even more appealing.
### Step 1: Assessing Your Home’s Solar Potential
Before starting the installation process, the first order of business is to assess your home’s solar potential. Here’s how to do it effectively:
– **Check Your Roof Orientation**: Ideally, solar panels should face south to capture the most sunlight. East or west-facing roofs can still work well but may not be as efficient.
– **Evaluate Roof Condition**: Ensure your roof is in good shape. Solar panels can last up to 25 years, so if your roof needs repairs, consider addressing these before installation.
– **Use Solar Mapping Tools**: Websites like PVWatts can give you an estimate of the solar power potential for your location. Input your address to see how much energy you could potentially generate!
### Step 2: Set a Budget
Now that you’ve assessed your solar potential, it’s time to set a budget. Here are some key factors to consider:
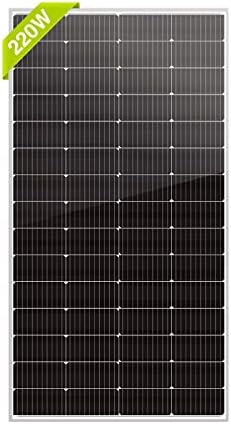
– **Panel Costs**: Solar panels come at various price points, so it’s essential to shop around. High-efficiency panels may be pricier but will generate more electricity.
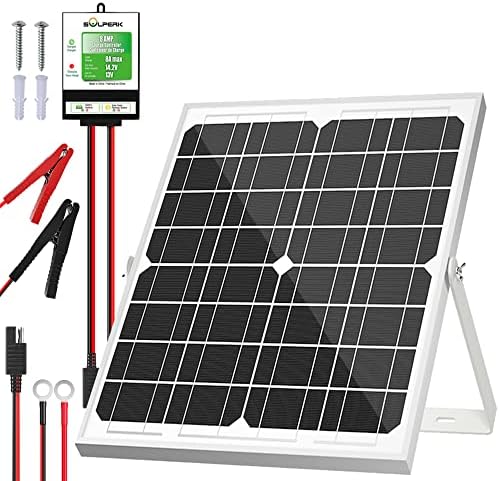
– **Inverter Types**: Inverters convert the sunlight captured by your panels into usable electricity. There are string inverters, microinverters, and power optimizers to choose from.
– **Installation Fees**: Some homeowners opt for DIY installation, while others hire professionals. If you’re going the DIY route, factor in tools and safety equipment.
– **Permits and Inspections**: Local regulations may require permits or inspections. Check with your municipality for costs associated with these.
### Step 3: Choose Your Equipment
Choosing the right solar equipment is crucial for maximizing efficiency. Here are some recommendations:
– **Panels**: Look for reputable brands with good warranties. Brands like SunPower, LG, and Canadian Solar tend to give you the best ROI.
– **Inverters**: If your property has shading or multiple roof angles, microinverters or power optimizers are a great option for enhanced efficiency.
– **Mounting Systems**: Installations can vary based on your roof type—know if you’ll need flush mounts, ballasted mounts, or pole mounts.
### Step 4: Obtain Necessary Permits
You’ve selected your equipment and are eager to begin. However, don’t forget:
– **Local Regulations**: Check your state and local government regulations regarding solar installations. Some communities may have restrictions or building codes that need adherence.
– **Homeowners Association (HOA)**: If you live within an HOA, consult their guidelines on solar panels to avoid any unforeseen issues.
### Step 5: Installation Day
It’s finally here! Installation day is a mix of excitement and hard work. Here’s a breakdown of the installation process:
– **Safety First**: Ensure you have appropriate safety gear, such as helmets and harnesses. Working on a roof can be dangerous without proper precautions.
– **Rooftop Prep**: Clean the roof to remove any debris. This will ensure your panels have a good grip.
– **Mounting the Panels**: Begin by installing mounting brackets. Ensure they are securely attached to the roof and aligned properly for optimal sun exposure.
– **Panel Installation**: Carefully place each solar panel on its brackets, locking them into place per the manufacturer’s instructions.
– **Inverter Setup**: Once the panels are secured, it’s time to install your inverter. Follow the manufacturer’s instructions closely, and ensure all electrical connections are secure.
### Step 6: Electrical Connection
Now, it’s time to connect everything to your electrical system. This step is essential, so if you’re not comfortable, consider hiring a licensed electrician. Here’s a basic outline of how it works:
– **Connect the Panels to the Inverter**: Make sure the wiring is properly connected and insulated. Follow the instructions carefully to prevent any malfunctions.
– **Connect To Your Home’s Electrical System**: Your inverter will need to connect to your main electrical panel. This allows the energy generated from the panels to power your home.
– **Install Monitoring Systems**: Many solar setups include monitoring systems that allow you to track energy production. This data is invaluable for maximizing efficiency.
### Step 7: Inspection and Interconnection
After you’ve hooked everything up, it’s time for inspection and interconnection:
– **Scheduling an Inspection**: Before you can connect to the grid, your system will need an inspection to ensure everything meets safety standards.
– **Utility Approval**: Once inspected, you’ll need your utility company to approve the system. After approval, they’ll allow your system to connect to the grid.
### Step 8: Go Solar!
Congratulations, you’ve done it! Your solar panels are now connected, and you’re harnessing the power of the sun. Here’s how to make the most of your new system:
– **Monitor Your System**: Keep an eye on your solar production. Monitoring systems can help optimize your energy usage and savings.
– **Stay Informed**: Solar technology is always evolving. Keep up-to-date on advancements to ensure your system remains efficient.
### Pro Tips for Solar Panel Installation
1. **Get Multiple Quotes**: Don’t settle for the first quote. Compare prices and services to find the best option for you.
2. **Consider Battery Storage**: If you’re in an area prone to power outages, battery storage can keep your home powered when the grid goes down.
3. **Utilize Tax Benefits**: Look into the federal solar tax credit (Investment Tax Credit). This can give you a significant deduction on your taxes.
4. **Stay Educated**: Join local solar community groups to share experiences and learn from others.
5. **Regular Maintenance**: Keep your panels clean and free from debris. An annual check-up can ensure everything is working efficiently.
### Conclusion
Embarking on your solar panel installation journey is not just a decision for savings; it’s a step toward sustainability. You are embracing a future where you control your energy destiny. With the right preparation and equipment, you’ll be basking in the sun’s energy while saving money and contributing positively to the environment.
So gather your tools, consult the experts, and prepare for a solar adventure that can empower you and inspire others. Happy solar installing!