# DIY Off-Grid Solar: Step-by-Step Installation Tips for Beginners
The sun hung high in the bright blue sky, illuminating the forest surrounding my cabin. With a steaming cup of herbal tea in hand, I watched my solar panels soak in the sunlight, generating the power I needed for daily life. My decision to go off-grid had ignited a fire within me, and I realized that harnessing solar energy wasn’t just a practical choice; it was a liberating adventure. If you’re considering diving into the world of off-grid living and want to install solar panels yourself, you’re in for an exhilarating ride. So grab your tools, roll up your sleeves, and let’s embark on this DIY journey together!
## Understanding Off-Grid Solar Power
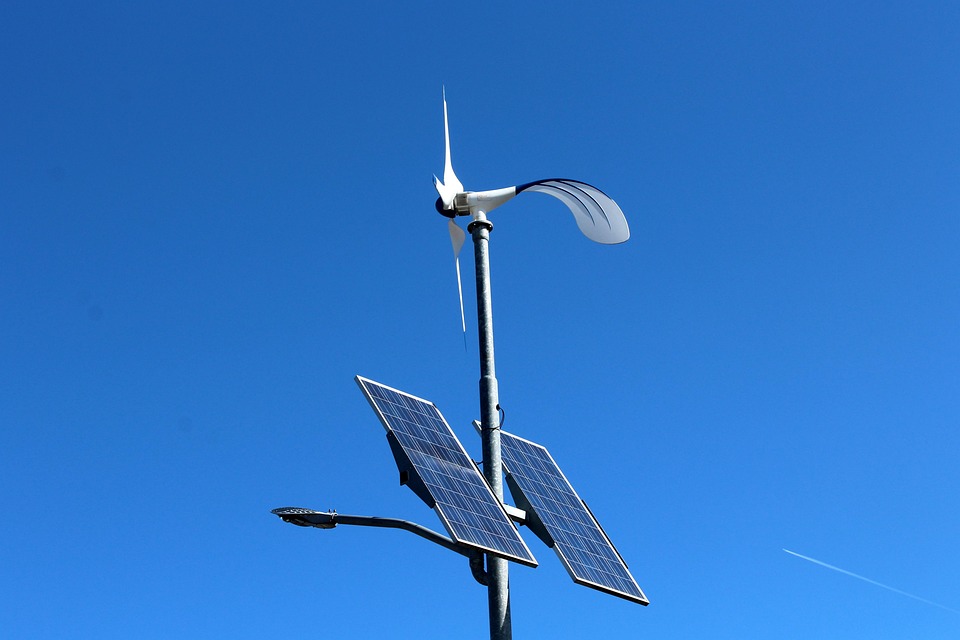
Before jumping into the installation, let’s clarify what off-grid solar power means. Essentially, it means you generate your own electricity using solar panels rather than relying on the electrical grid. This system typically includes solar panels, a charge controller, batteries, and an inverter.
– **Solar Panels**: These capture sunlight and convert it into electricity.
– **Charge Controller**: Protects the batteries from overcharging.
– **Batteries**: Store the energy produced by the solar panels for use when the sun isn’t shining.
– **Inverter**: Converts the direct current (DC) from the batteries into alternating current (AC) used by most household appliances.
## Step 1: Assessing Your Energy Needs
Before you can start installing anything, you need to know how much energy you consume. Start by listing the appliances you plan to run off your solar system and their wattage. Here’s a quick way to estimate your energy needs:
1. **List Your Appliances**: Include everything from lights to refrigerators.
2. **Check the Wattage**: Usually found on labels or in the manual.
3. **Calculate Daily Usage**:
– Multiply the wattage of each appliance by the number of hours you plan to use it per day.
– Add all those numbers together to get your total energy needs in watt-hours.
**Pro Tip**: To account for cloudy days or surges in energy consumption, multiply your total by 1.5. This will give you a better understanding of the solar capacity you’ll need.
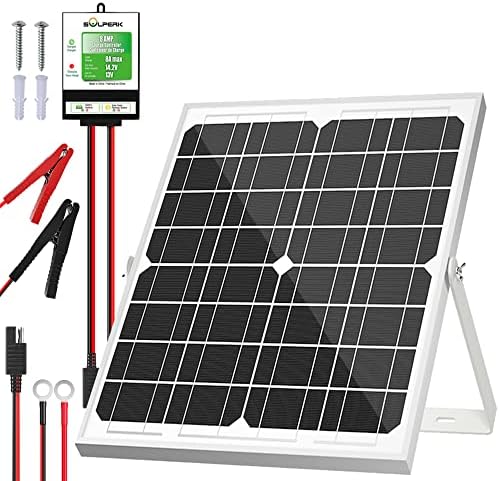
## Step 2: Choosing Your Components
Now that you know how much energy you need, it’s time to choose your equipment. Here’s a breakdown of what to look for:
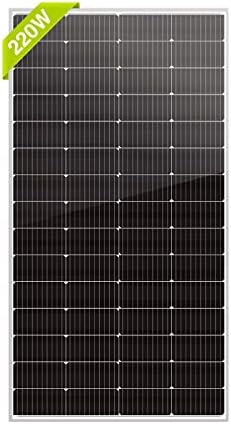
### Solar Panels
– **Types**: Monocrystalline (more efficient but pricier), polycrystalline (more affordable but slightly less efficient), and thin-film (lightweight but less popular for home use).
– **Wattage**: Panels typically range from 100W to 400W. Choose panels that together can meet your energy needs.
### Charge Controller
Choose between PWM (Pulse Width Modulation) and MPPT (Maximum Power Point Tracking). MPPT controllers are more efficient and better for larger systems.
### Batteries
Look for deep-cycle batteries designed for solar storage. Lithium-ion batteries are efficient and have longer lifespans, but they can be pricey. Lead-acid batteries are cheaper but require more maintenance.
### Inverter
Ensure the inverter can handle your maximum load. A pure sine wave inverter is ideal for sensitive electronic devices.
### Mounting Hardware
Depending on your roof type or if you’re installing a ground-mounted system, choose appropriate mounting hardware designed for stability and durability.
## Step 3: Preparing the Installation Site
Once you have your components, it’s time to get your installation site ready:
1. **Choose Solar Panel Placement**: Look for a spot that receives maximum sunlight for most of the day. Avoid shaded areas from trees or buildings.
2. **Secure Authorization as Necessary**: If you live in an area with zoning laws or homeowner associations, check if you need any permits.
3. **Gather Tools and Safety Gear**: You’ll likely need:
– Drill
– Wrenches
– Wire cutters
– Safety glasses and gloves
## Step 4: Installing the Solar Panels
### Mounting the Panels
1. **Install the Mounting Brackets**: Securely fix these on the roof or ground. Ensure they are level and aligned.
2. **Attach Solar Panels**: Follow the manufacturer’s instructions for affixing the panels to the brackets.
### Wiring the Panels
1. **Connect the Panels in Series/Parallel**: Depending on your system design, you may connect panels in series (increases voltage) or parallel (increases current).
2. **Install the Charge Controller**: Position it between the solar panels and the battery bank, as per the directions provided.
## Step 5: Connecting the Batteries
1. **Organize Battery Bank Location**: Place the batteries in a cool, dry environment to maximize lifespan.
2. **Wire the Batteries**: Depending on your system, connect them in series or parallel. Ensure all connections are tight and secure.
## Step 6: Installing the Inverter
1. **Position the Inverter Near the Battery Bank**: This reduces energy loss.
2. **Connect the Inverter**: Follow the manufacturer’s guidelines to wire it to the battery bank.
## Step 7: Testing and Monitoring
### Initial System Check
1. **Turn On the System**: Check all connections and ensure there are no short circuits.
2. **Monitor Performance**: Use a multimeter to check voltage output. Ensure the charge controller is functioning correctly.
### Monitor Energy Production and Usage
Keep a close eye on how much energy you’re generating and consuming. This may require periodic adjustments to your usage habits.
## Pro Tips for a Smooth Installation
– **Go Slow**: Take your time during each step. Rushing can lead to mistakes. Remember, this is a DIY project meant to empower you.
– **Consult Online Communities**: Forums and social media groups can provide invaluable insights and troubleshooting advice.
– **Maintenance Routine**: Regularly clean your solar panels and check connections for rust or corrosion.
– **Expand Gradually**: If your energy needs change, don’t hesitate to add more panels or batteries later on.
## Conclusion
The journey of installing your DIY off-grid solar system is not just about powering your home—it’s about embracing a sustainable lifestyle that provides independence and self-sufficiency. Each step taken leads to not just energy savings, but also deep satisfaction and a newfound connection with the environment. So whether you choose to charge your phone, power your fridge, or run your workshop on solar energy, you’ll understand that this journey is just beginning. It’s time to tap into that sunshine and let your off-grid adventure unfold!
### Resources to Explore
– Solar Energy International (SEI) for online courses.
– Local workshops often available through community colleges.
– YouTube tutorials can offer visual guidance throughout the process.
Now, go forth, harness the sun, and enjoy the fruits of your labor!